it is March, and phrases like
minus-twenty and
snow accumulation are being bandied about in polite (or, even, impolite) conversation, so i must still be in Canada. as i walked from the kitchen, a cup of tea in one hand and a glass vase in the other, i caught a glimpse out the window and my spirit sank just a tiny bit. don't get me wrong... snow is lovely... every once in a while. however, this daily reminder that we are still in the depths of winter is starting to take a toll on the collective sanity.
i've resorted, in recent days, to taking drastic actions to chase away the
winter blues. the first step was to replace the
blues (and
greys, for that matter) with a slightly more cheery color.
i walked into the local flower shop, and my attention was immediately arrested by the s
o-very-not-seasonal shock of yellow lurking just inside the walk-in cooler. apologies to the
roses,
orchids, and other more pedigreed offerings, but this situation required much stronger medicine!
daisies and (their close relatives
black-eyed-Susans and
echinacea) always remind me of the many summers i spent working at the
Botanic Garden. to my way of thinking, the
asteracea family of plants are the very definition of sunshine and warmer days. the word is derived from the Greek
aster, which means
star (which includes the brightly-glowing ball at the center of our humble galaxy), and this family of flowers are renowned for the habit of opening and closing with the rising and setting of said orb. if ever there was an official ambassador of summertime, this is it!

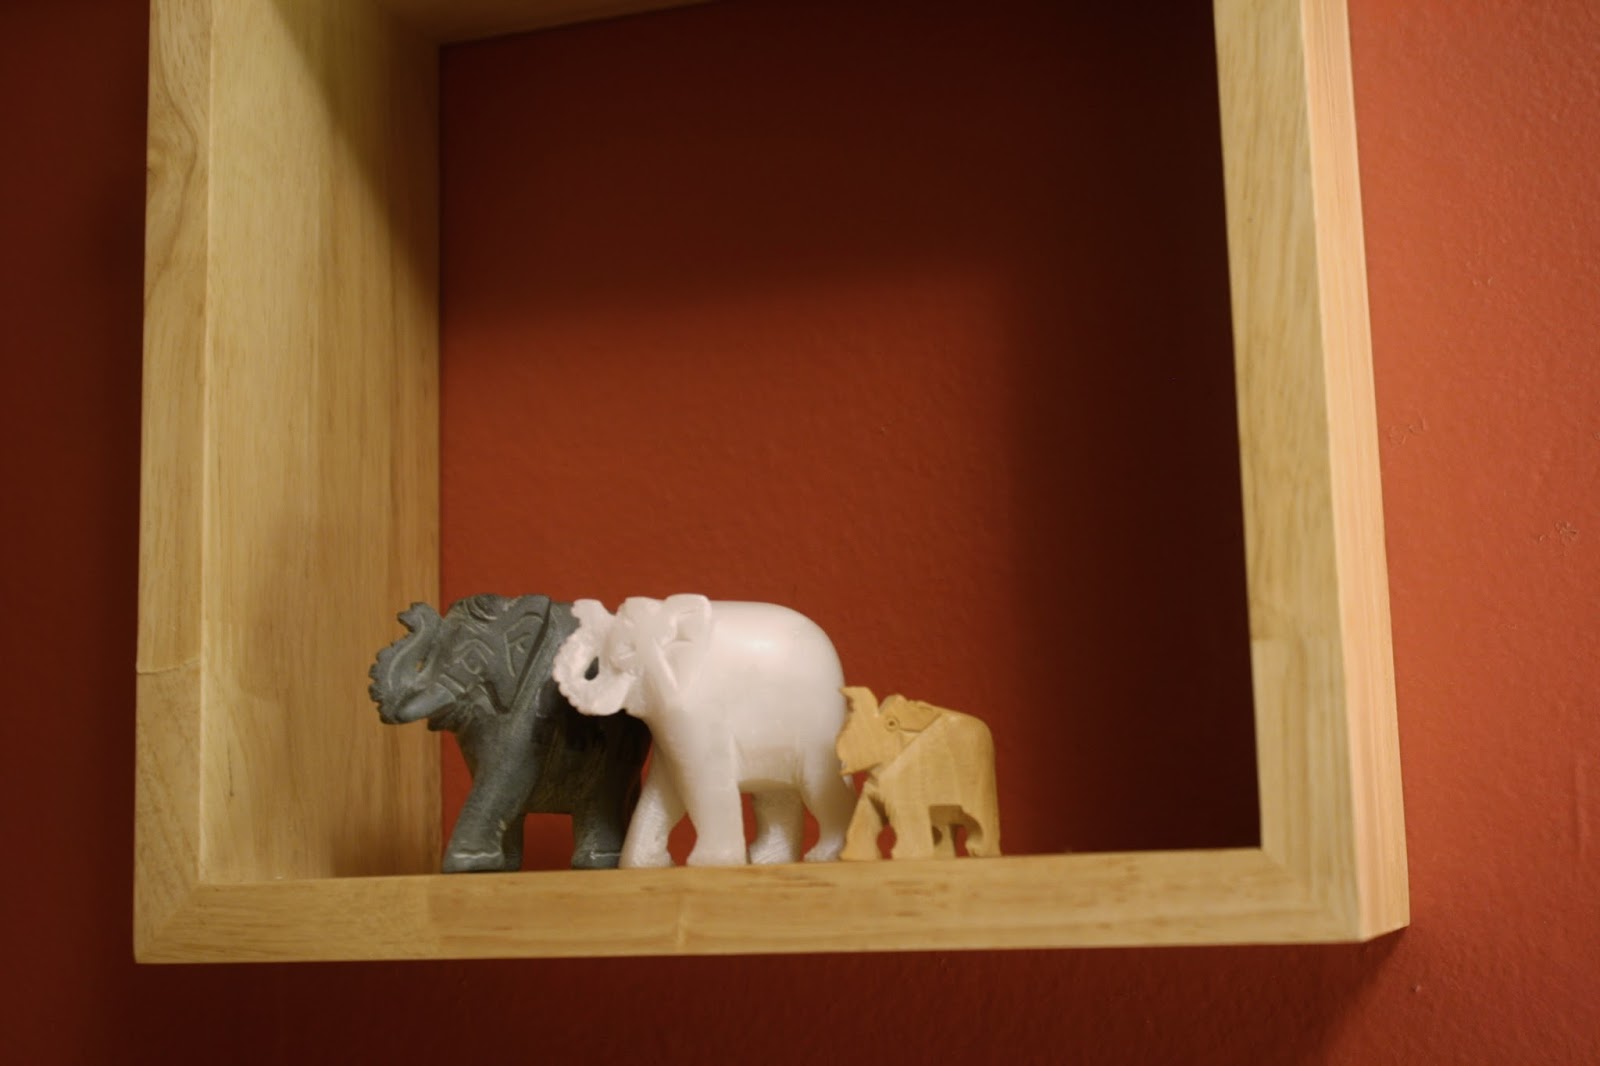
while at the flower shop, i also picked up a trio of miniature elephants, two
soapstone and one
wooden, which are presently residing in a shadow box on my bedroom wall (is it still a
shadow box if it has no glass covering???).

i also finally got around to adding some more cans to my craft corner!!! this is a pretty neat way to recycle kitchen refuse into storage for anything from yarn (seriously... what else would you expect me to suggest first???) to random art supplies.
full disclosure: i originally stumbled upon this genius project while searching for
yarn storage ideas on the
interwebs about a year or two ago. i got the idea from
Lee Meredith's blog, and she, in turn, got it from some magazine. Lee used a combination of cardboard strips, tape, and contact cement to hold the cans together and screws/nails to secure them to the wall. having personally engaged in near-acrobatic feats to paint our high-ceilinged living/dining room, nails and screws were not an option, so i had to improvise.
the major concern is to make sure that the chosen method will support the weight of the cans and their contents. there was a bit of trial-and-error involved (cans falling in the middle of the night, for example), but i've had nine of them on the wall for several months now without incident, so this method is secure enough for my needs.
here is the rather messy step-by-step process (the number of actual steps being determined by how overly-complicated you prefer to get when tackling the simplest tasks). look away if you have an aversion to hot-glue abuse.
materials:
step one: drink a lot of coffee or hot chocolate.
step two: repeat step one until you have enough cans to get started. i set mine up in strips of three cans each, so i can easily add more strips (in any direction) when multiples of three cans become available. rinse and dry the cans.
step three: cut a strip of contact paper wide enough to completely cover the outside of each can and carefully apply it to said surface (this part is good times for those of us inclined to OCD). try to overlap the ends slightly, but if your paper is a tad too short to go around the whole can, you can hide the small gap by turning that side toward another can during the assembly process.
 step four:
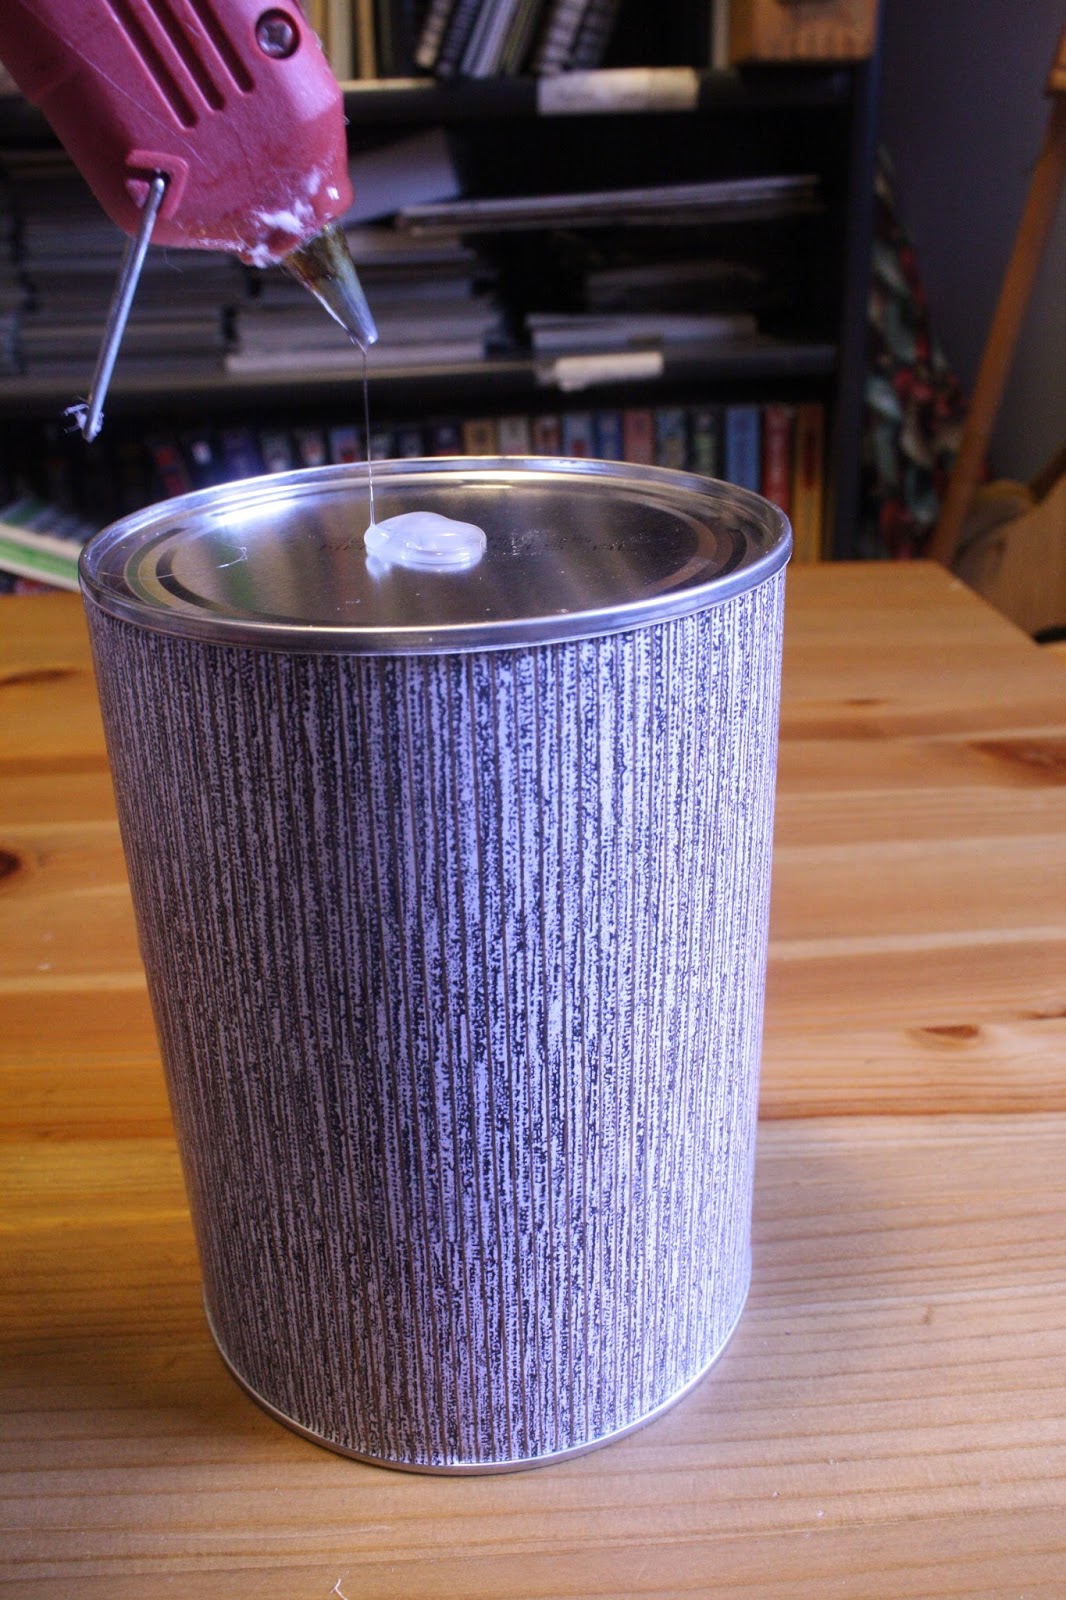
 turn the cans upside down. the center of the can will likely be lower than the bottom rim. a small piece of cardboard, or something of a similar height, can be used to make the center of the can even with the rim. i saved paint stirrers from the hardware store, as they are the perfect thickness for this job. using the utility knife, score the sticks at (roughly) one-inch intervals and snap off one piece for each can. don't worry about jagged edges.
apply a dollop of hot glue to the center of the can and secure the piece of wood. don't skimp on the hot glue, or the can may easily snap off at some later point. i usually apply a bead of glue around the edges, like caulking, just to make sure it is well and truly secured. repeat for all the cans.
 step five:
 now it is time to "string" the cans together, according to your planned configuration. in this case, i am connecting three cans at a time onto one piece of the backing material. my backing material is a piece of particleboard (
masonite, i believe it is called, but do not quote me on that) from the back of an old bookcase. i scored the board using the utility knife and snapped it into sections roughly two inches wide and long enough to reach across all of the pieces of wood glued to the bottom of the three cans. line the cans up as desired (this is your chance to hide messy seams, if necessary), apply a healthy dollop of hot glue on top of each of the wooden pieces, and place your strip over the hot glue to connect the cans together.
step fivepointfive: this is a step that grew out of the trial-and-error phase when i first attempted this project. note that the particleboard has one smooth, finished side (black) and one rough, unfinished side (brown). to minimize the visibility of the particleboard once the cans are mounted on the wall, i glued the strip with the darker side facing down (so that it becomes part of the shadowy space between the cans). however, this means that the adhesive tabs will go on the porous, unfinished side, which is probably why the cans fell about an hour after the first time i put them on the wall.
in order to create a smooth surface on which to attach the adhesive tab, i cut up a few of the plastic lids from the cans and hot glued them where the adhesive tabs would be placed.
step six: place a small dollop of hot glue wherever the top and bottom rims of the cans touch, which will give it a bit more stability when mounted. [also, when adding new strips to the wall, i use a dollop of hot glue to connect the edges to the cans already in place. it may seem like overkill, but it reduces
wobbling of individual cans and the likelihood of snapping one off with regular use... just trust me on this point. trial-and-error, remember?!?!]
step seven: attach the adhesive tabs (on top of the bits of plastic, if you used them). keep the outer pieces of paper in place until you are ready to install the cans on the wall.
it may be a bit messy, but the front view is all that matters.
step eight: now... find a wall, remove the paper backing from the adhesive tabs, and mount the cans!!! stick your hand into each can and press firmly against the wall to ensure maximum
stickfulness.
 word of advice:
 assume that the cans
will fall and take appropriate steps to make sure nothing gets broken. if you wake up the next day and they are still in place, then you can consider them safe for use. keep in mind that these cans are defying gravity using only a few double-sided adhesive tabs, so this may not be the wisest place to store anything heavy or fragile. you can stick to same-sized cans and a single pattern of contact paper, or mix things up for variety. my
favorite animator brought home a couple large, empty coffee containers from the studio, so they have also been pressed into service. i also used a combination of patterns for covering the cans. this was a challenge to my extreme need for
evenness, but i am coping for now, although there is always the possibility of a late-night emergency can recovering episode in my near future.
this was a rather convoluted process, but it worked, and that is all that matters in the end. i will likely revisit this project at a later date. if any of the surfaces in this ancient building were relatively even, i would have stopped after
step four, then added the adhesive tabs and mounted the cans directly onto the wall. alternatively, it would have been interesting to use one large piece of backing material, paint it white, and use the rim of the cans to stamp a series of colored rings onto the surface, which can later be "filled in" by mounting a can in that space. the possibilities really are endless, and the result can be both fashionable and functional.
this does not even begin to scratch the surface of my yarn storage problem, but it does make for an interesting focal point on the empty wall above my desk, where i can show off some of my hand-dyed and hand-spun fibers or just stare at them and dream of making beautiful things.


.jpg)


